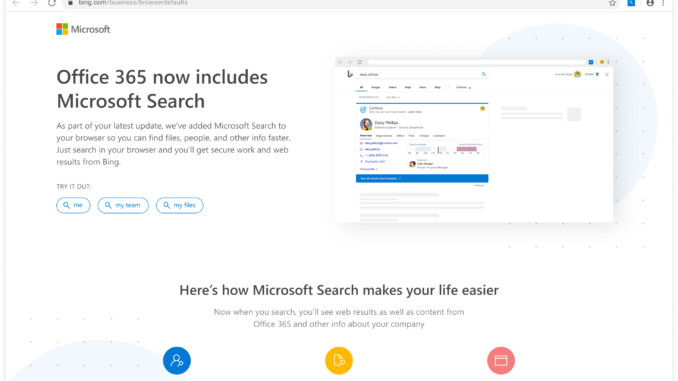
Recently Microsoft announced to install an extension for Microsoft Search on new and existing Office ProPlus installations that will set Bing as the default search provider in Google Chrome. We will start to see this with the Office 2002 release as stated in the article;
Starting with Version 2002 of Office 365 ProPlus, an extension for Microsoft Search in Bing will be installed that makes Bing the default search engine for the Google Chrome web browser only on devices in a limited number of locations. This extension will be installed with new installations of Office 365 ProPlus or when existing installations of Office 365 ProPlus are updated.
Fortunately I`m located in The Netherlands, which is not part of that limited number of locations (yet). But let`s have a look anyway at the possibilities to prevent the installation of this Microsoft Search extension.
As described in the documentation, we can use the Office Deployment Tool for new installations. Switch off Set default search engine to Microsoft Search in Bing and save the configuration.
The outcome from the tool (XML file) can be used in Intune for the Office ProPlus deployment, but you need to use (at this moment) the XML configuration option. As you see Bing is added as excluded app to the config.
A downside of this solution, this only prevents the extension from installing for new Office ProPlus deployments. Existing Office installations will still get the extension installed when the Office suite receives an update to version 2002.
Another option mentioned in the documentation is to use Group Policy. Microsoft links to the download location of the Administrative Templates file for Office. A big advantage of using the Administrative Templates file, this setting will be applied to new and existing Office installations.
Although we have Administrative Templates available in Microsoft Intune for Office, this new setting is missing. The solution is, to deploy the Administrative Template file and required setting using an Intune Custom Configuration Profile.
In this article I do not describe in detail how everything works with the custom configuration profile, such as building the OMA-URI. For that I suggest to read this previous article about Managing Google Chrome with Intune where I described that in more detail.
Deploy the Office ADMX file
The Administrative Templates files can be downloaded from the Microsoft site. From the downloaded package we need the office16.admx file.
Now open a browser to sign-in to the Microsoft Intune portal.
- Sign-in to the Device Management Portal
- Browse to Devices – Windows
- On the Configuration Profiles tab click Create profile
- Give the configuration profile a Name
- Enter a Description (optional)
- Choose Windows 10 as Platform
- Choose Custom as Profile type
- Click the Settings tab
- Click Add
With this row we deploy the ADMX file to the Windows 10 device. As you can see the OMA-URI contains ADMXInstall for the ADMX installation. We also see customoffice16admx, which we also use in the second row later.
Enter below information to the policy;
Name: Office16 ADMX Ingestion
OMA-URI: ./Vendor/MSFT/Policy/ConfigOperations/ADMXInstall/customoffice16admx/Policy/customoffice16admx
Data Type: String
Value: As value copy the entire content of the office16.admx file in the value field
Click OK twice and click Create.
The policy to deploy the ADMX file is ready. In the next steps we add the settings we manage with Intune to the same policy.
Add the Prevent Bing Install setting
When we open the office16.admx file in a text editor and we search for Bing, we find the setting we need for preventing the installation of the Microsoft Search extension. We need the Name of this setting L_PreventBinginstall in our Custom Profile as part of the OMA-URI. We also see we have two options for this setting; Enable and Disable.
Switch back to the Intune portal.
- Open your existing custom policy
- On the settings tab click Add
- Give the Row a Name
- Fill in the OMA-URI: ./Device/Vendor/MSFT/Policy/Config/customoffice16admx~Policy~L_MicrosoftOfficemachine~L_Updates/L_PreventBingInstall
- Data type: String
- Value: <enabled/>
- Click OK
Assign the policy to a security group.
Verify the setting on Windows 10
We have several locations on the Windows 10 device to verify if the setting was deployed successful.
The first location is in the Settings of Windows.
Open Settings and browse to the Accounts section. On the Access work or school tab, click on Connected by…. and Info. Under Policies you see all the policies applied by Intune. Here you can also find the one we deployed starting with customoffice16adm.
If you have also deployed Office settings with the Administrative Templates profile direct from the Intune portal, you also find that settings, starting with 0ffice16v2.
The second location where we can verify the setting is using the Windows Registry. Browse to Computer\HKEY_LOCAL_MACHINE\SOFTWARE\Policies\Microsoft\office\16.0\common\officeupdate
Here you will find the DWORD value preventbinginstall, next to other values set by an Administrative Templates policy.
The third location, is the Eventviewer. Located under Applications and Services Logs, Microsoft, Windows, you will find DeviceManagement-Enterprise-Diagnostics-Provider. Search for event 873, which shows the start of the ADMX ingestion.
And if you look further, you`ll find events with information about configuration of the PreventBinginstall setting, like event 814.
I hope you`ll find the post informative and it will help you prevent the installation of the Microsoft Search in Bing extension on your Intune managed devices.

Be the first to comment